


To see if this custom-fit item will work for you please tell us what vehicle you'll use it with.


Thank you! Your comment has been submitted successfully. You should be able to view your question/comment here within a few days.
Error submitting comment. Please try again momentarily.


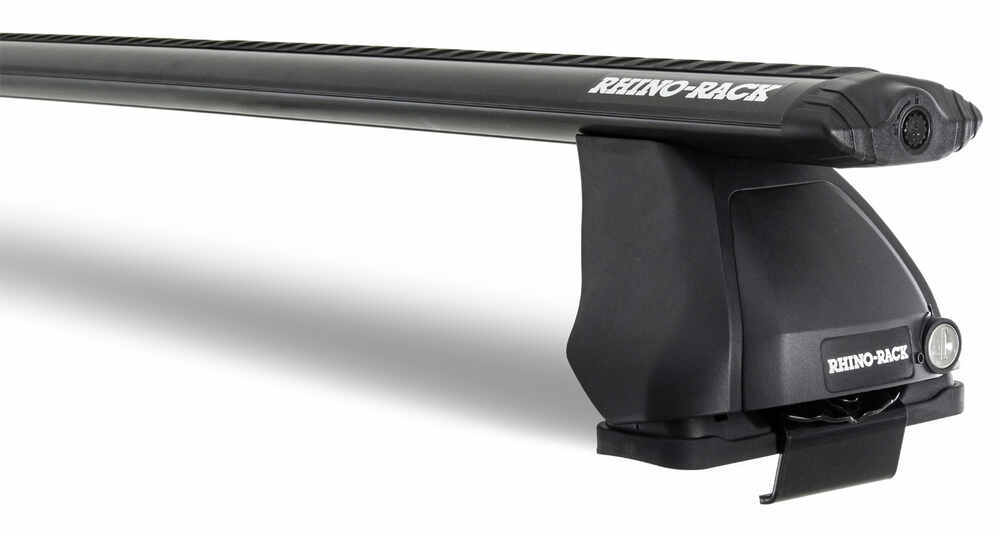


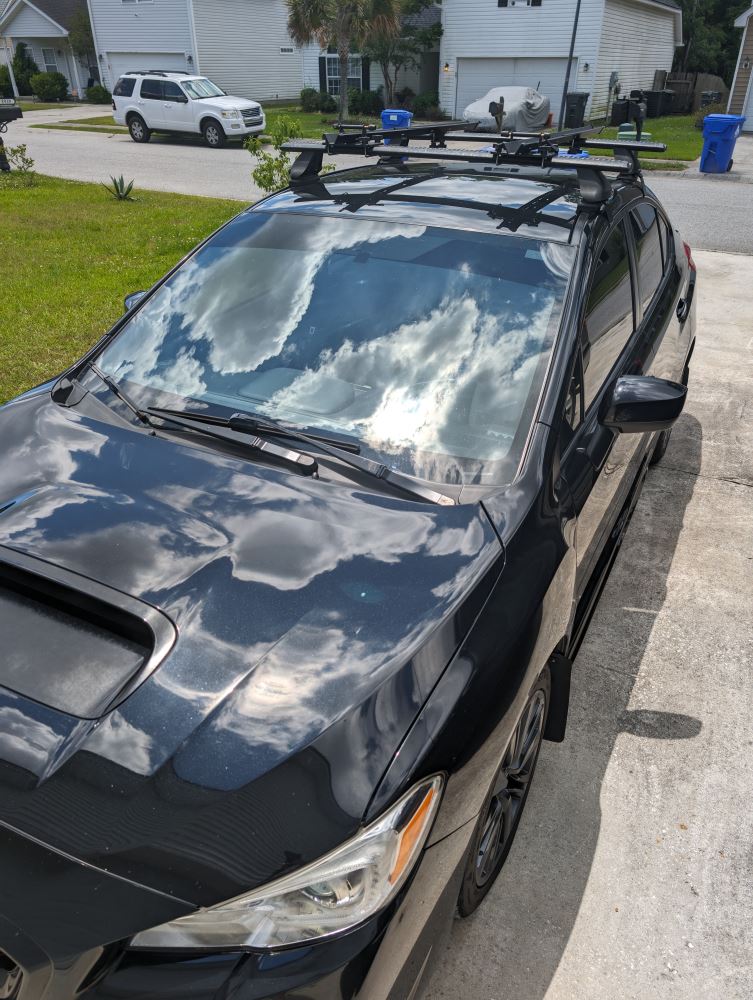
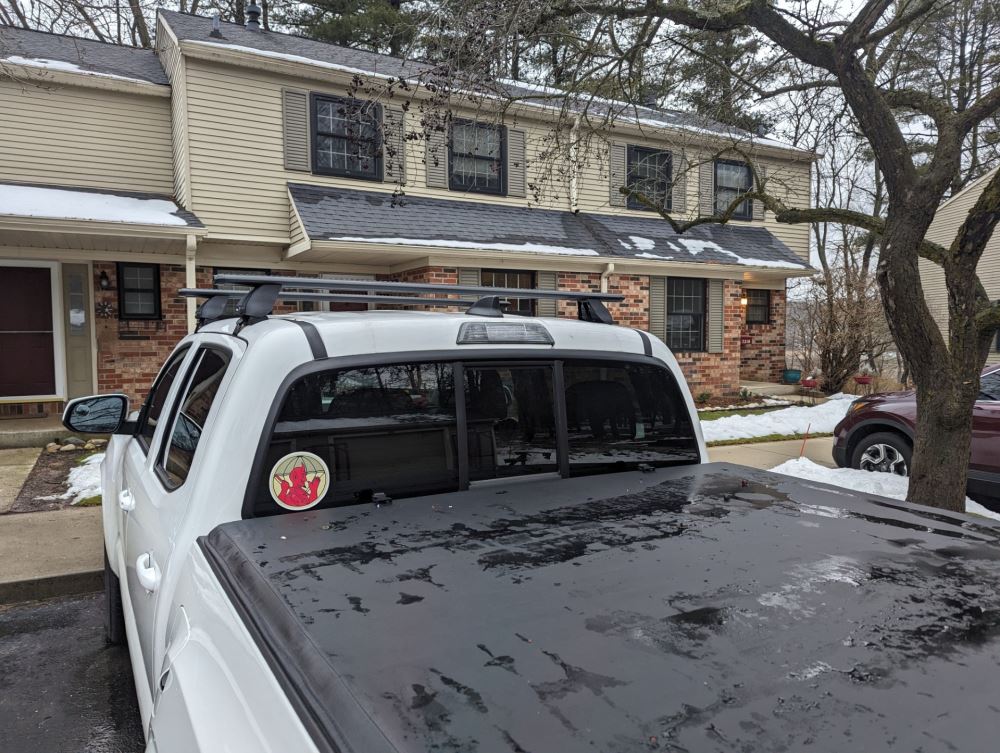
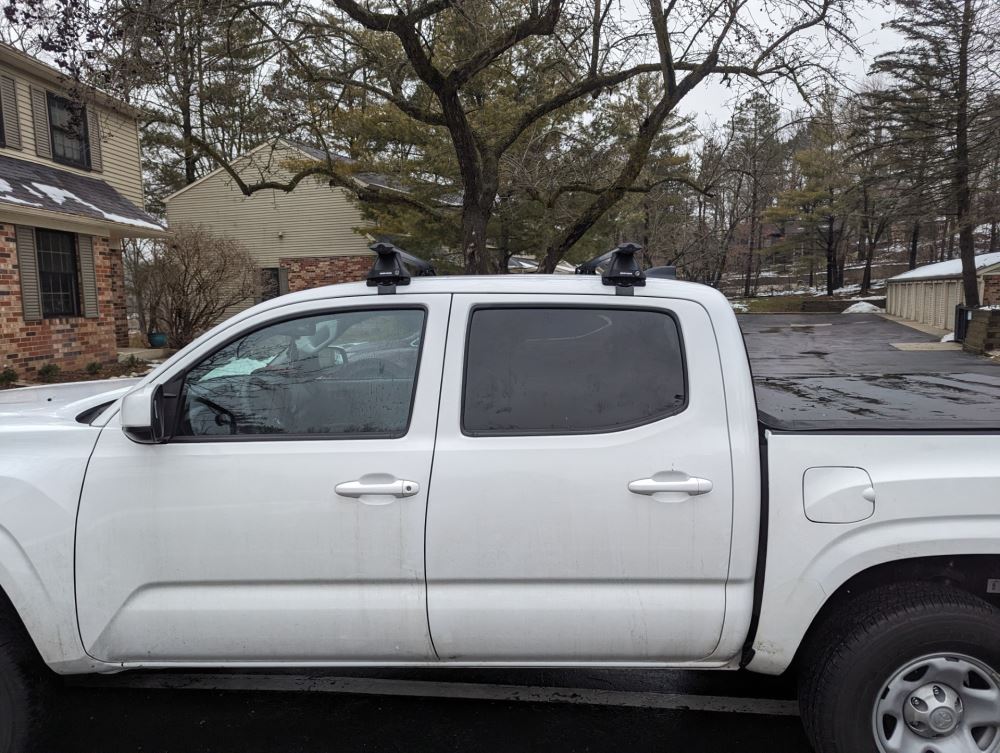
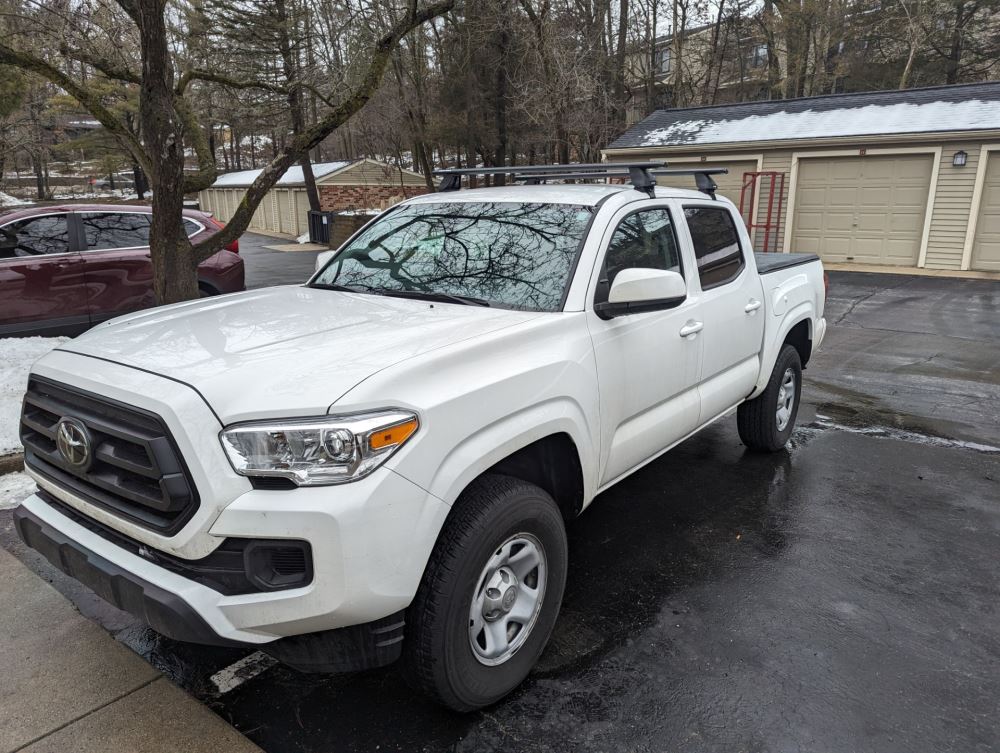
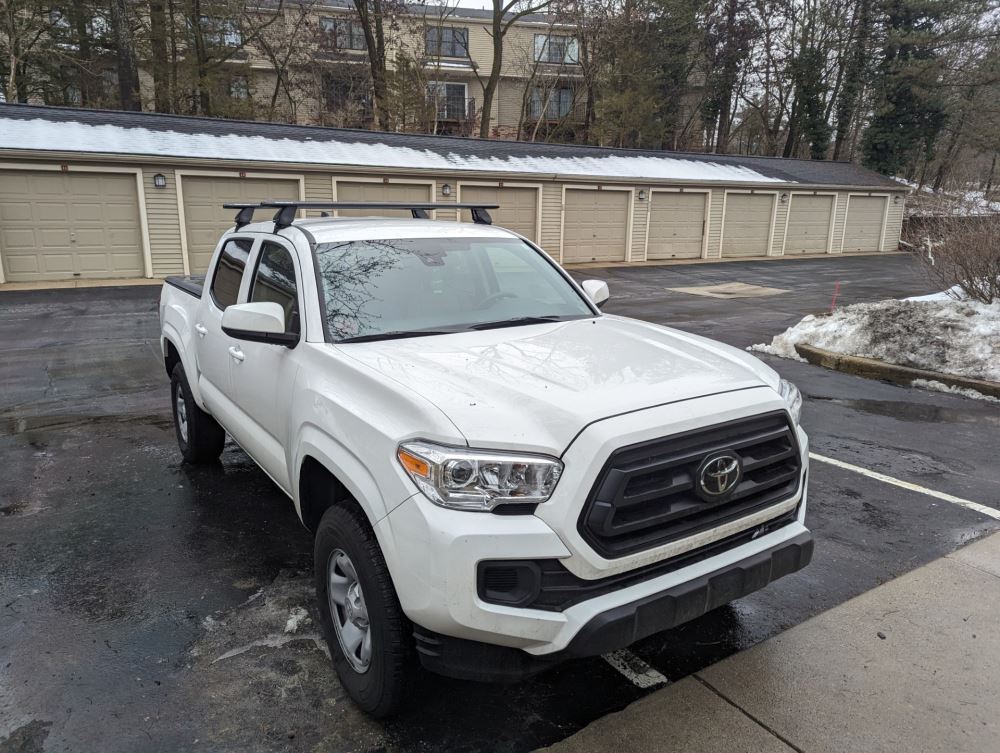
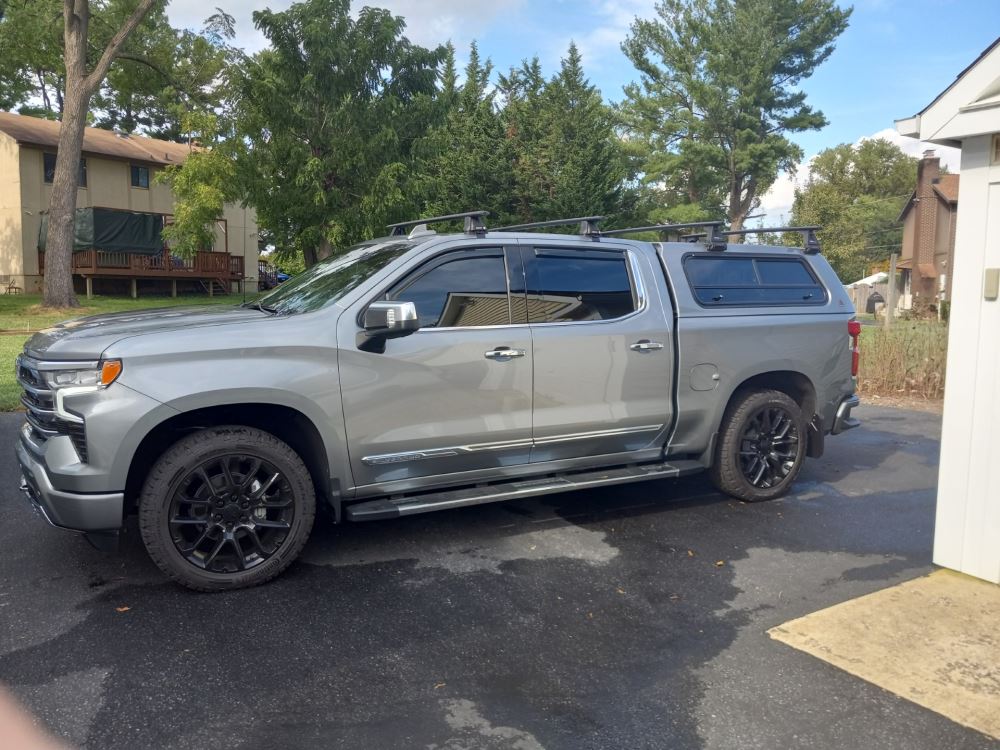
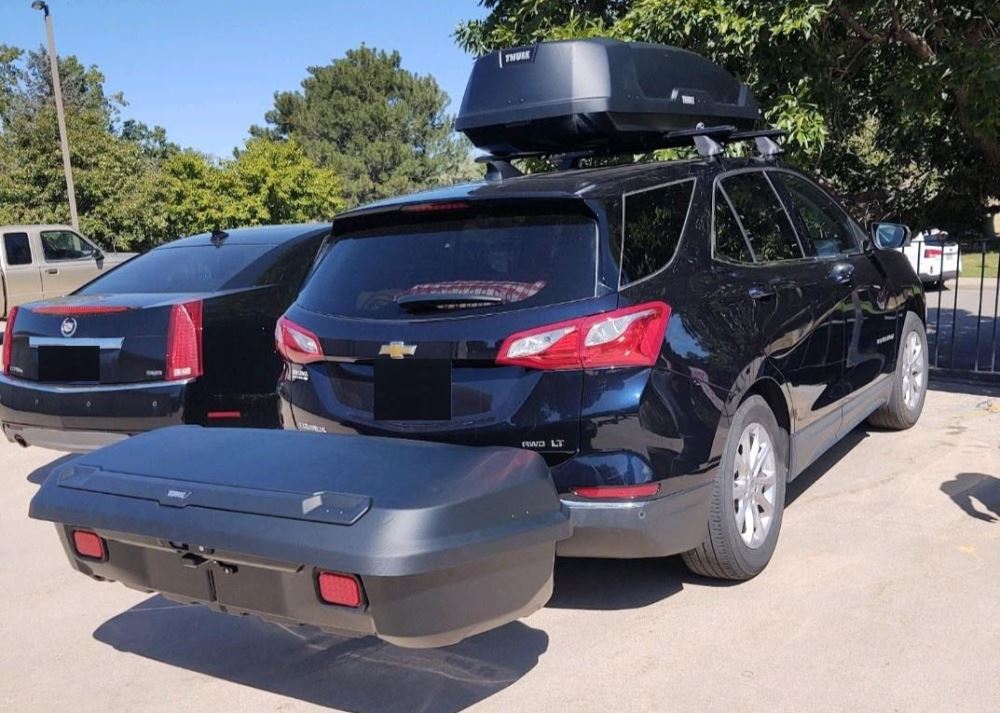
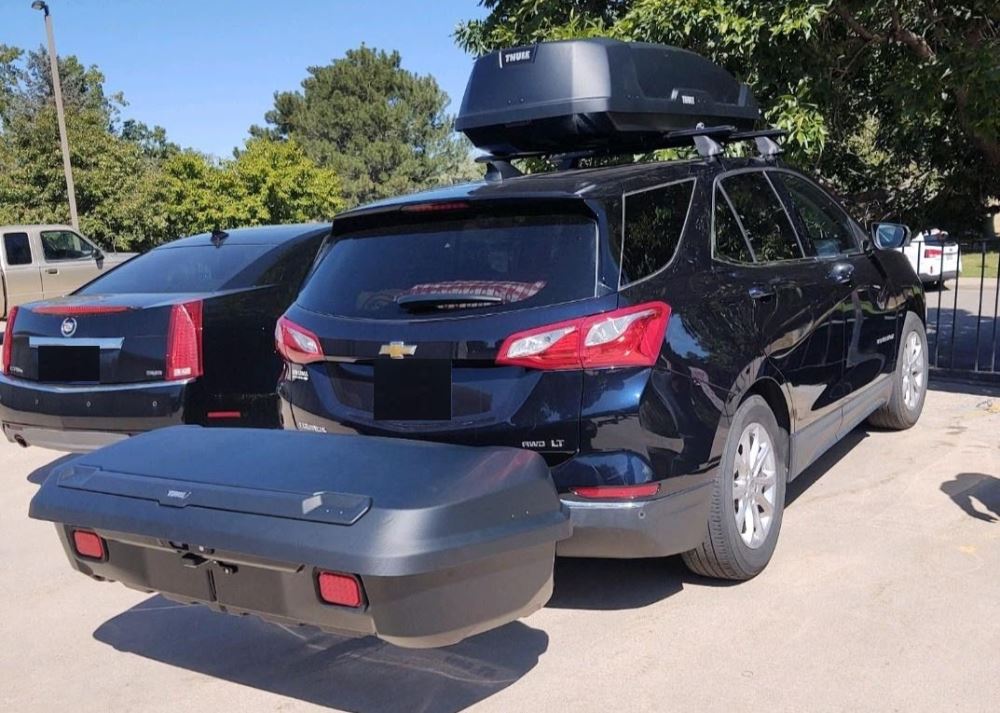
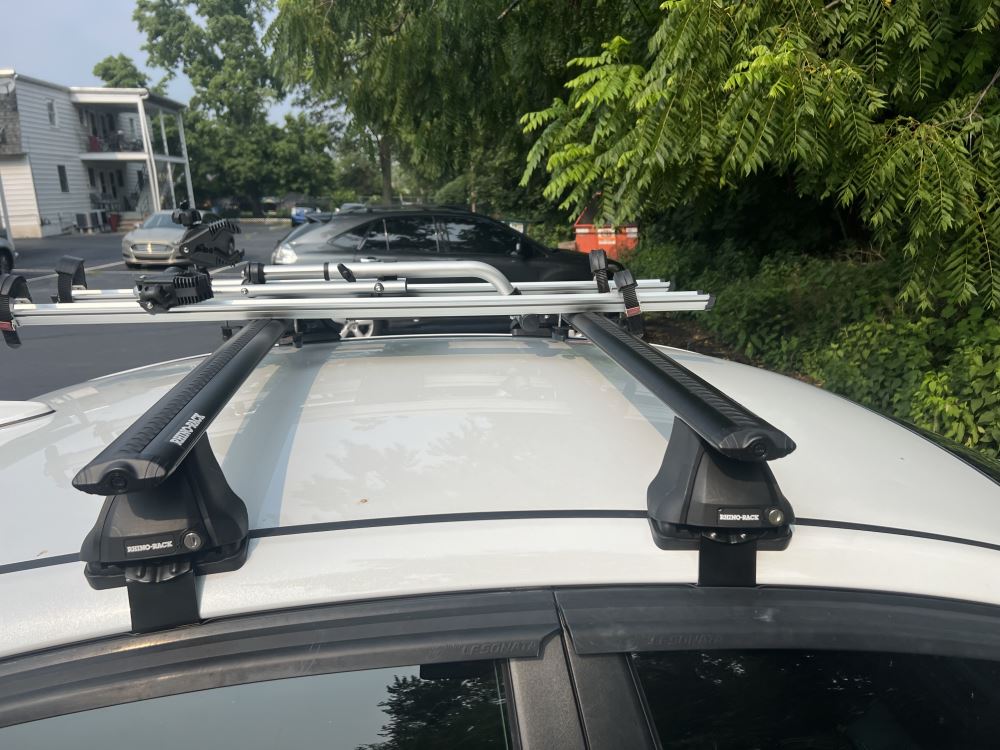
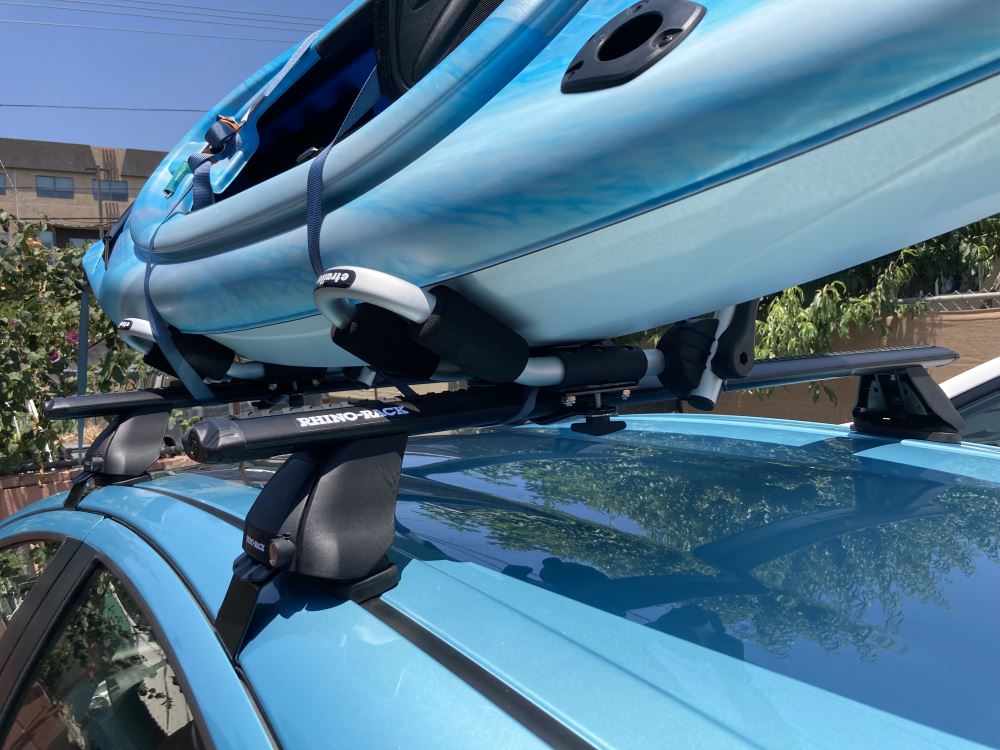
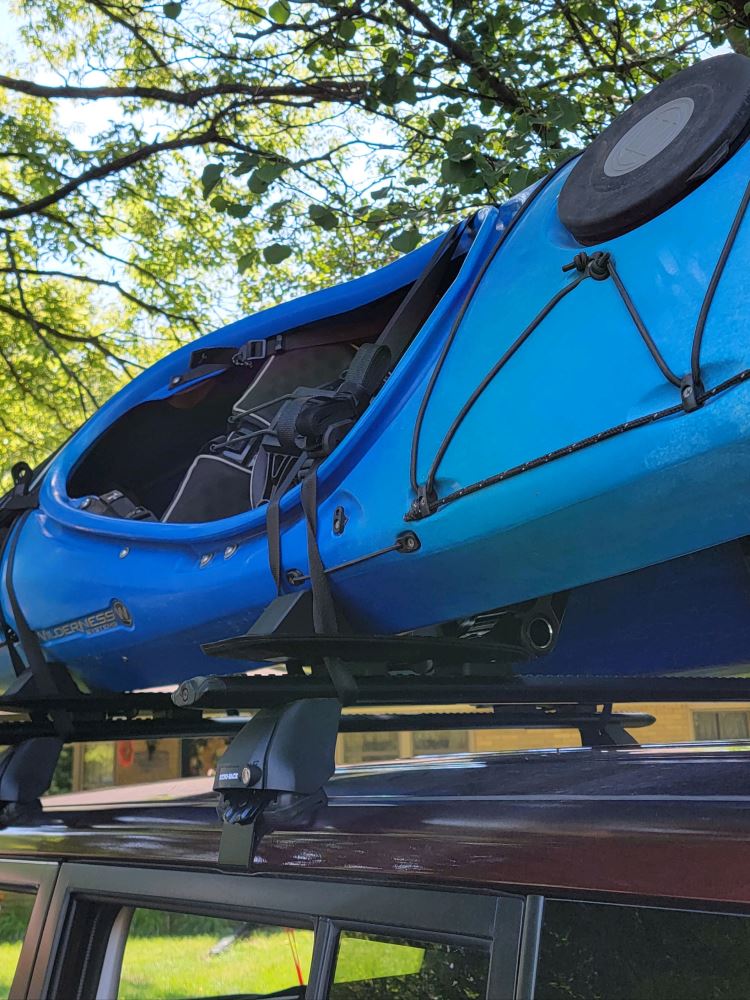
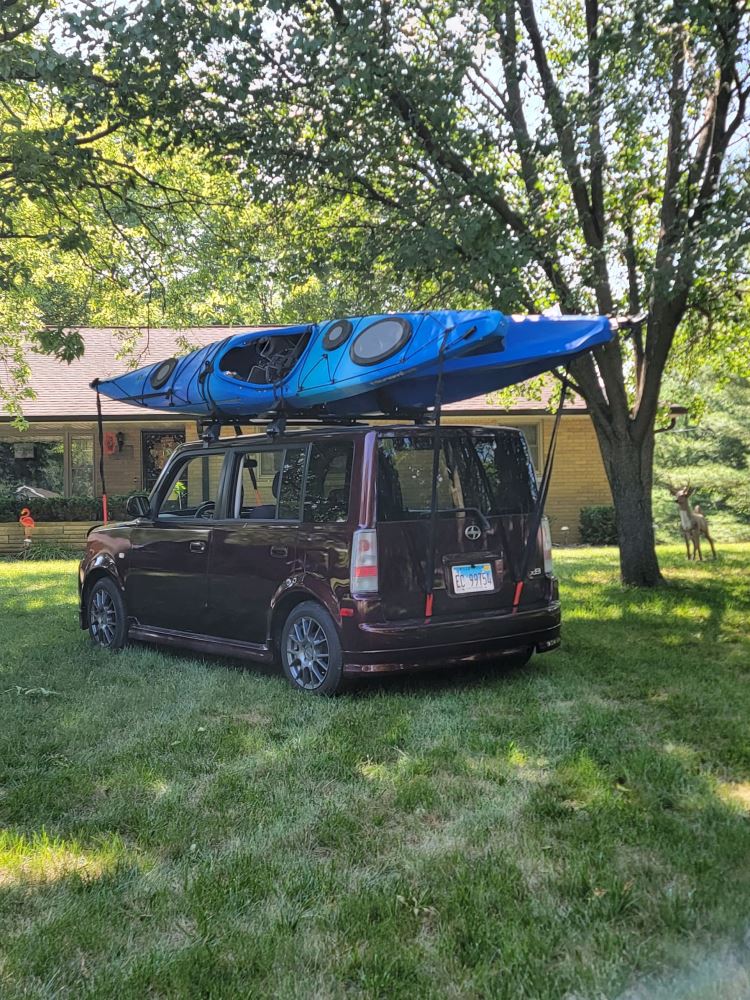
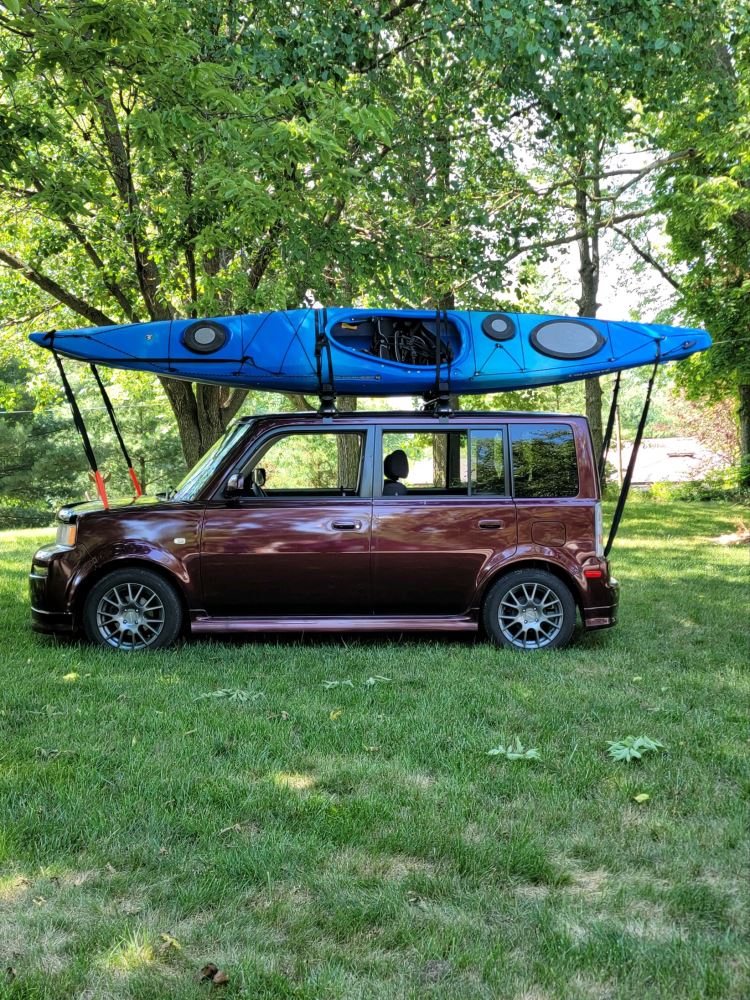

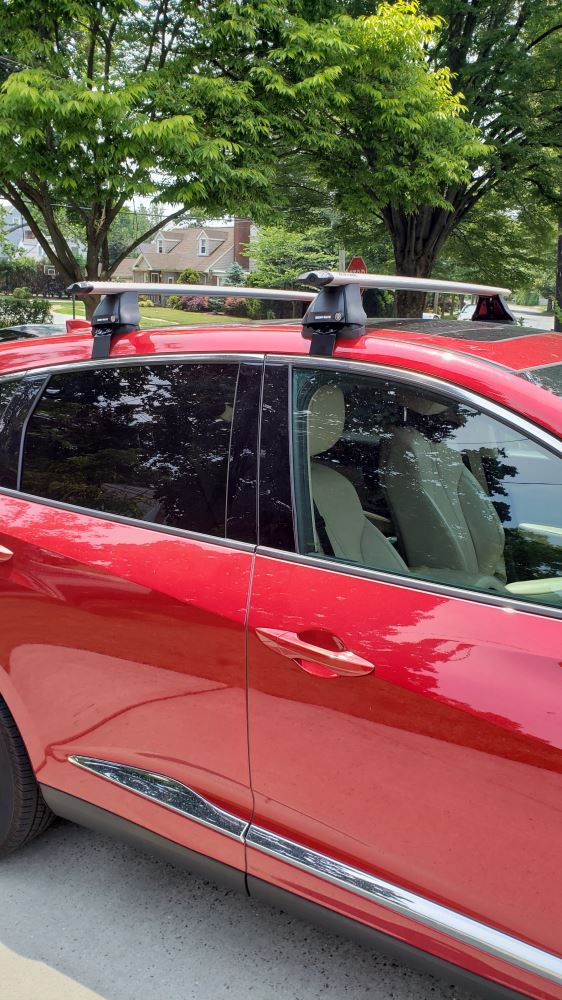
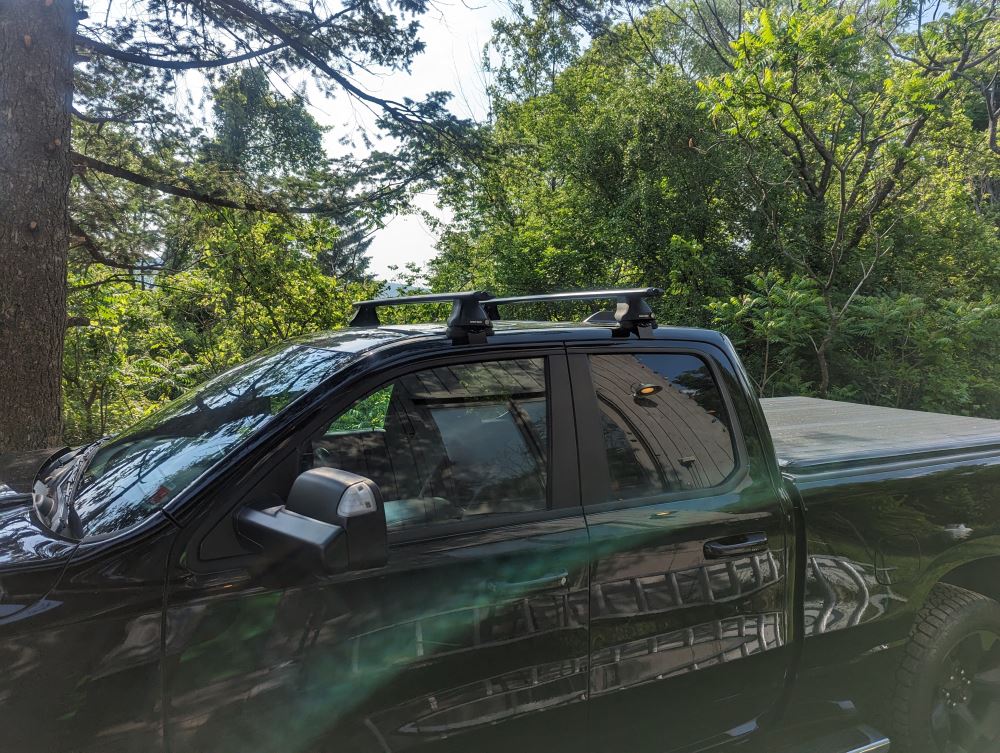
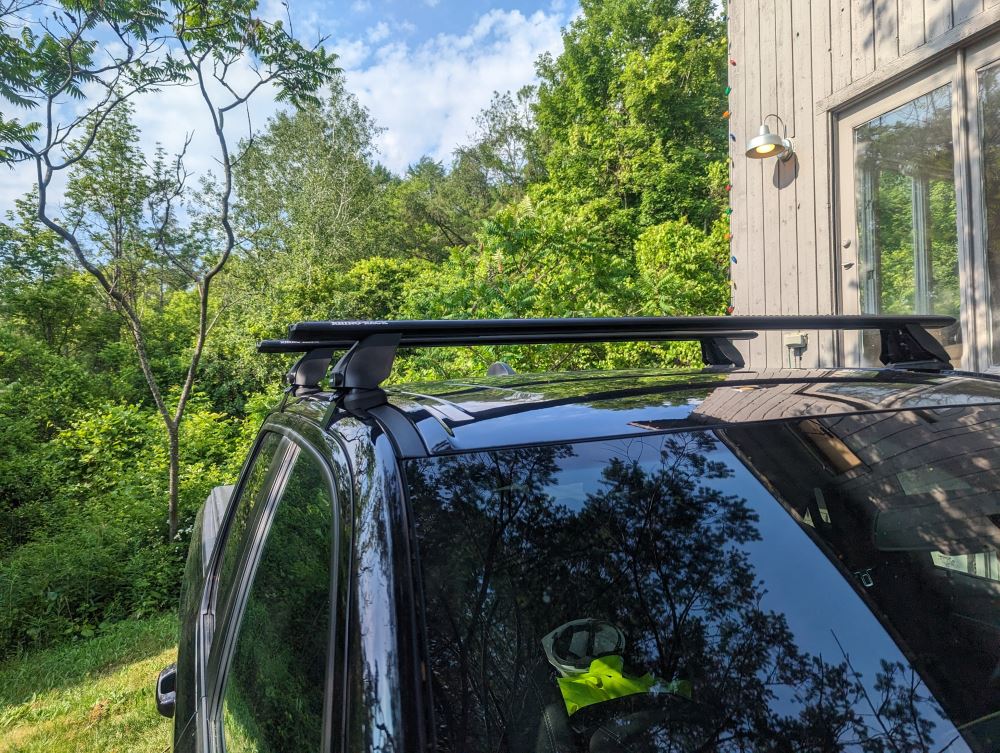
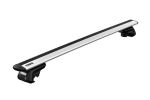
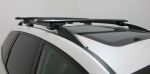
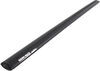
When you’re hauling gear on long drives, loud whistling can ruin the ride. The Rhino-Rack Vortex crossbars use an aero-style shape and rubberized Vortex strips in the top channels to help reduce drag and wind noise. The result is a smoother, quieter trip—no need to drown out wind sounds with the radio.
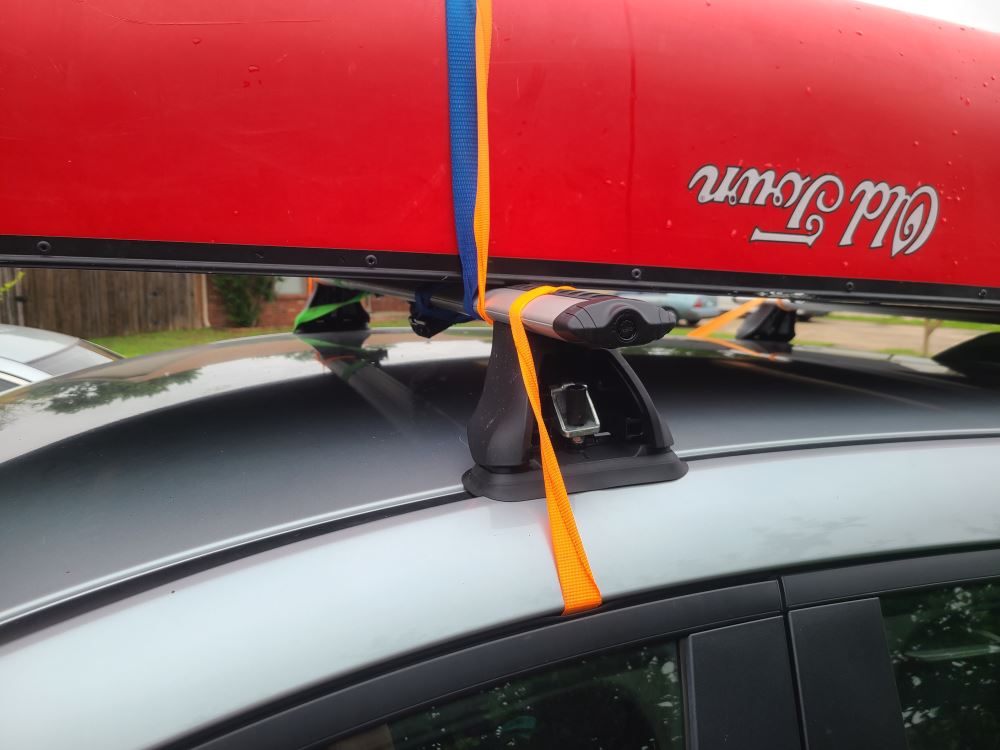
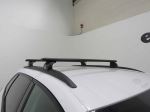
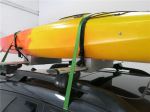
This setup is ready for whatever adventure you’re planning. The full-length aluminum crossbars give you space to mount gear for every season—kayaks, bikes, skis, or cargo boxes. You can use accessories that fit in the top channels or those that clamp around the bars, so it works with most bike, watersport, snow, and cargo carriers you already have.
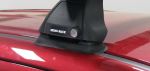
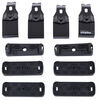
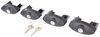
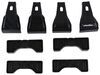
Strong, lightweight aluminum bars handle up to 165 lbs (always follow your vehicle’s roof load limit). The system includes 2 Vortex crossbars, four 2500 Series legs, and a custom fit kit for a solid connection. Integrated plastic locks in the crossbars deter theft of channel-mount accessories, and lockable cover plates on the legs secure the rack itself. You can also upgrade to all-metal locks (RRVA-LEC4 – sold separately) for added security.
Installing on a bare roof doesn’t need to be complicated. The included fit kit gives your vehicle a secure base without permanent changes or damage. Once it’s on, you’ve got a reliable platform that’s ready for road trips, camping weekends, and daily hauling.
Crossbar dimensions: 49" long x 3-1/8" wide x 1-3/16" tall; Top channel dimensions: 13/16" wide x 1/4" tall x 3/8" opening; Weight capacity: 165 lbs; Color: black; Construction: aluminum; Warranty — Crossbars: limited lifetime; Legs: 5-year limited; Fit kit: 5-year limited.
 Alternate Instructions
Videos are provided as a guide only. Refer to manufacturer installation instructions and specs for complete information.
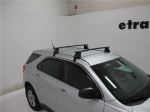
Hello, neighbor, this is Curt with etrailer, and today we're going to be taking a look at the Rhino-Rack Vortex Roof Rack, and we're going to see how it fits and how it installs on our 2024 GMC Terrain. Now, when you're out on those long trips, you often have some gear, equipment, maybe some extra luggage or something like that, that you either don't want in the vehicle with you or simply doesn't fit in there with everybody else, passengers and their stuff. So there's a couple of options you have to carry that extra cargo. One, you can use your hitch and either use a hitch cargo carrier or even a small trailer, but that's just going to add to the footprint of the vehicle, can make it a little more difficult to maneuver and park and things like that. The other option you have is to carry it on your roof using a roof rack system like the one we have here from Rhino-Rack. So a roof rack system is going to allow you to carry all sorts of different equipment from bike carriers to ski and snowboard carriers, to awnings, cargo boxes.
The list goes on and on. There's a lot you can do up here on your roof rack. And as long as you're not worried about any clearance issues with the height of the vehicle, this tends to be a more popular way for people to travel simply because it does make everything a bit easier to maneuver. Now, the Rhino-Rack's Vortex Roof Rack is going to offer a 165-pound weight capacity. However, double check your owner's manual for your vehicle rooftop weight capacity.
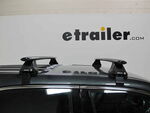
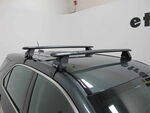
Whatever number is lower is the number that you're going to have to go with. Now, the Vortex is an arrow bar, meaning it's got kind of an ovular shape here. So what that's going to help out with though is vibration and road noise. It's just a lot more aerodynamic than your square or round bar, so it offers you a quieter ride as you're going down the road. You're going to be able to use your clamp-mounted accessories with it, and it also has a T-track up at the top with some weather stripping, so you can use your T-slot accessories.
There is some added security. Your end caps actually have a special key to use with it that you can take out, and this is going to give you access to your T-track. And it's also going to have locking towers with it and keys for those as well. That way, nobody can get in here and remove your roof rack and steal your stuff. Now, the other great thing about these is that it does have an overhanging style.
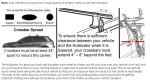
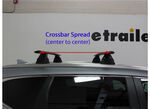
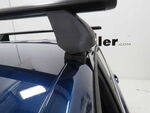
And an overhanging style just gives you more bar space to use than a flush style. A flush style means that the bar is going to end inside the tower. Nothing's going to hang out over, but what that does is limit your bar space and it forces you to put whatever accessories you have toward the middle of the vehicle and that can make it a little bit more difficult to reach and load and unload when you need to. The overhang, because we have a little bit extra space over here that we could even put a clamp on if it's a small enough accessory with a small enough clamp, and that could allow us, as long as we're under our weight capacity, to possibly put accessories side by side up here that most flush mounted bars don't allow us to do. So a big concern that some people have when it comes to an overhanging bar is, "Hey, what if I get out of the car "and I hit my head or something "The Terrain is not the tallest vehicle out there." Well, to be honest with you, with this bar, we just barely come past the door threshold here and we're well inside the door threshold by our feet. Whenever we get in and out of a car, we're not going straight up like this, we're going out. So I'm not really worried about this hitting my head at all. But we we inchesre going to talk a little bit about how this roof rack fit on the Terrain. So let's get up on the roof and take a few measurements. So from up here, the first thing that we want to take a measurement of is our crossbar spread, and that is the distance between our two bars. And the reason that's so important is because every rooftop accessory has a minimum and a maximum crossbar spread that it can go on. So from up here, we're going to measure from the middle of the bar to the middle of the bar and we're going to come right out at 28 inches. And honestly, that's a really good spot to be. Most roof racks have a minimum, maximum anywhere in between that 25 to 35 range. So having a 28-inch spread makes me feel like I don't really have to worry too much about finding accessories to go up here on my roof rack. Now, the other thing that we want to take a look at is how much height is this going to add to your vehicle And if we go right from the center here, this is going to add about four and 1/2 inches of height onto your vehicle. So if you're worried about roof clearance, take your vehicle height, add that four and 1/2 inches plus however tall your accessory is, and you'll be able to determine if you've got the clearance to make it under any low hanging garages or branches or anything else like that that you might run into out on the road. We're also going to take a look at underneath here and how much space that gives us. And that's going to give us right at about three inches, which is more than enough space to fit most of those clamp-mounted accessories around under here and get them tightened up. Plus if we have something up here on a roof rack that's a bit longer, it's also going to clear the shark fin antenna that we have toward our lift gate. So these bars are 49 inches, so they're going to give us a total of 49 inches of bar space to work with. And that's from the inside end cap to the inside end cap. And if you're wondering just how much room you have outside of the tower rather, you've got about two to two and a quarter inches here if you have a small enough clamp that you can get around that. But installation of these is actually pretty easy. There are some details that you're going to want to pay attention to, but hang out for a minute and I'll show you exactly how we got these on the roof of our Terrain. So to begin our installation, we're just going to kind of lay everything out that we've got here. So we've got our crossbar and we've already attached one tower that we've assembled. We're going to go ahead and walk you through how to assemble the other tower because they basically go together the same way. The main thing that you want to pay attention to though is check out your instructions. They are going to have certain part numbers for what pad goes where and what clamp to use where. So to start, we're going to look at our pad. So on our driver's side for the back crossbar, we're looking at M415. It's very difficult to see, but it is stamped there on the rubber. And there's a little arrow right here too. We want to make sure that arrow is pointed outward toward the outside of the crossbar. So we're going to take our tower here and we're going to go ahead and just kind of fit it onto here, pressing it in all around the edges just to make sure we've got a good flush fit. Make sure that that rubber goes all the way around and then it doesn't catch up anywhere on the lip of it or anything like that. And once we have that completely assembled, we're going to go ahead and take this little blue key that we've got here that goes to our crossbar end caps. We're going to unlock that, pop that out. Then we're going to take our tower and using this metal block that we have right here, we're just going to slide that in to our T-slot that's located down underneath here. Now your kit is going to come included with this metric measurement stick here that actually slides right into our T-slot. Now your instructions give us a measurement. However, we found that when we got it up on the car, that those measurements weren't really accurate. So we had to play around a little bit and kind of figure out what the best measurement would be. So if you put it in at the end that starts with a zero and it'll count up from there. On our back bar, we discovered that the 80-millimeter mark is going to be accurate for us. On the front bar, we discovered that the 70-millimeter mark was where it was accurate. So we're going to slide our tower over until it bumps right up against it. We're going to take our Rhino-Rack tool and through this bolt right here, we're going to go ahead and tighten our tower down onto the crossbar. And we're going to remove that little measurement piece as well. Once we have that tightened down into place, we can go ahead and grab our end cap and lock it back onto our crossbar. So at this point, I'm going to grab my crossbar and towers and I'm going to set them up here on my roof. And generally kind of right in the middle of the door right here, I just want it in this general area, we are going to take a measurement to figure out exactly what our bar placement would be. Now our front bar is going to be measured from the door seam to our bolt in the middle right there, and that measurement should come to seven and 7/8ths, which it does. Now we're going to use this front bar to determine where our second bar goes. And we're going to do that again by measuring from bolt to where the bolt is placed here. And that measurement we're looking for is 27 and 9/16ths, so just a hair over 27 and 1/2. So we're just a little bit far forward on this. We're just going to move this back and we're just going to adjust this measurement until we get it correct on both sides. Now it is really important to double check this on both the driver and the passenger side. We need that measurement to be equal here and there so that we can guarantee that our bars are parallel to each other and therefore much safer to carry that cargo down the road. At this point, we're going to attach our clamps. Now our clamps are going to be specific to the front bar and the back bar as well. So pay attention to the number that's on the back of them. On our rear bar clamps, the number on the back is going to end in 369. On our front clamps, it ends in 155. Now the reason for that is because our rear clamps are going to be a little bit longer just to account for more of the vehicle roof line up here to account for. So this has to reach a little bit further to get down into our door seam. But we've got our correct clamp, 369 here. And what we're going to do is just simply take this bolt out, then we're going to line this up just like so and replace the bolt. So I'm just holding this in position around the edge of my roof here. And what I'm doing at this point is I'm really just getting it to the point that it's snug. I don't really want to tighten it yet. I still need to put the clamp on the passenger side and if I tighten this too much, it'll knock itself out of place over there. It'll kind of force itself to come to the driver's side and I really don't want to do that. So I'm just getting this to the point where it's snug so when it does come time to tighten it up, it'll be just that much easier. Now that I've got both sides snug, I'm going to go ahead and take my Rhino-Rack tool and I'm going to use this bolt right here and I'm going to really tighten it down completely. Now, I don't want to over-tighten one side next to the other. So I'm going to give it a few good turns over here, go to the other side and do the same and just kind of work my way back and forth. Again, I don't want to over-tighten one side and knock the other out of place because it's looser. So I've tightened up a little bit here on the driver's side. I'm going to go to the passenger side, do it over there and just bounce back and forth a little bit until we're tightened down completely. And once we've got it tightened down completely, go ahead and grab it, give it a good shake, make sure that the bar and the towers aren't moving or slipping around anywhere. As you can see, we're actually moving the car a little bit when we're doing this. So I'd say we've got a really solid fit. It's time to put on our tower covers and we got two tabs over here on this side. We're just going to slip those into place, pop it in, grab our key and get it locked up. Now we're ready to load up and hit the road. So let's look at the Rhino-Rack Vortex Roof Rack on our 2024 GMC Terrain. Now, if after watching this video, you decide that this is the roof rack for you, you get it, install it and you have the opportunity to use it a little bit, we would love for you to share your opinion on it in the comments below. Sharing your experience with us helps our other neighbors make the best decision for themselves. Once again, this is Curt with etrailer. Thanks for stopping by.
Ratings & Reviews

Roseanne

8/12/2015
Its still attached to my car and still doing its job. I did lose an end cap and had to order 2 as a pair . I dont remember the amount but the were expensive as replacementsespecially since i knew it would happen

Jerry
3/20/2026
Still happy. Theres a whistle, but you can fix it with a bit of foam insulation in the bottom of the rail.
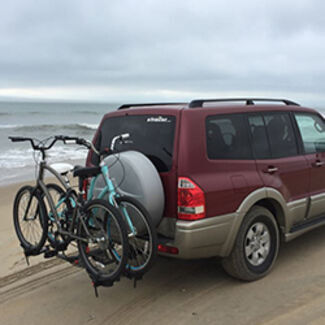
Michael
5/17/2025
Great high quality.
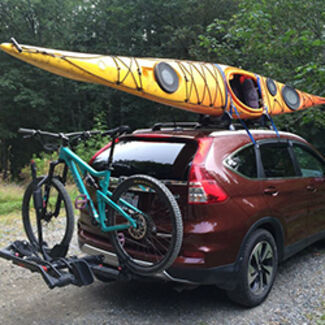
Tyson
9/9/2025
Very well! I take this rack on and off as we travel, and it’s very quick, both on and off. Quality has held up as well. Very pleased.

Do you have a question about this Roof Rack?
Info for this part was:
At etrailer we provide the best information available about the products we sell. We take the quality of our information seriously so that you can get the right part the first time. Let us know if anything is missing or if you have any questions.















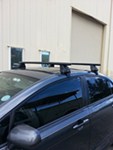
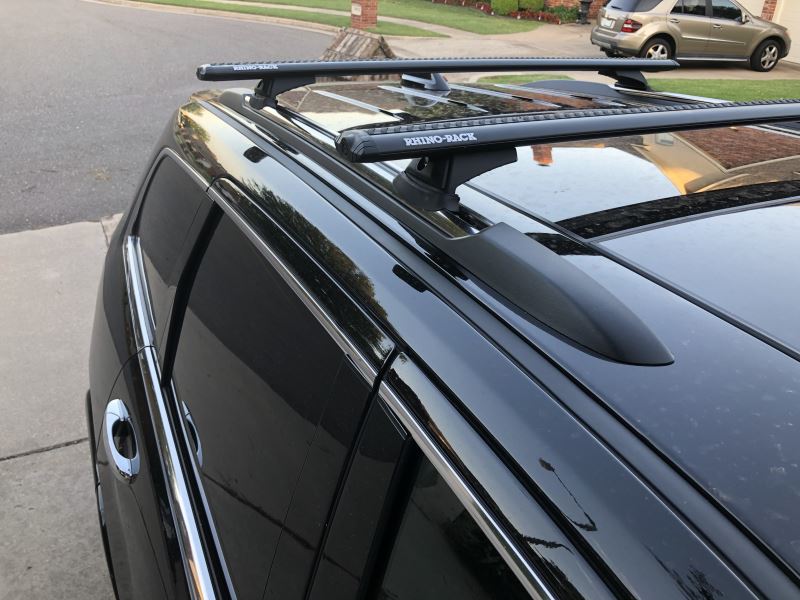


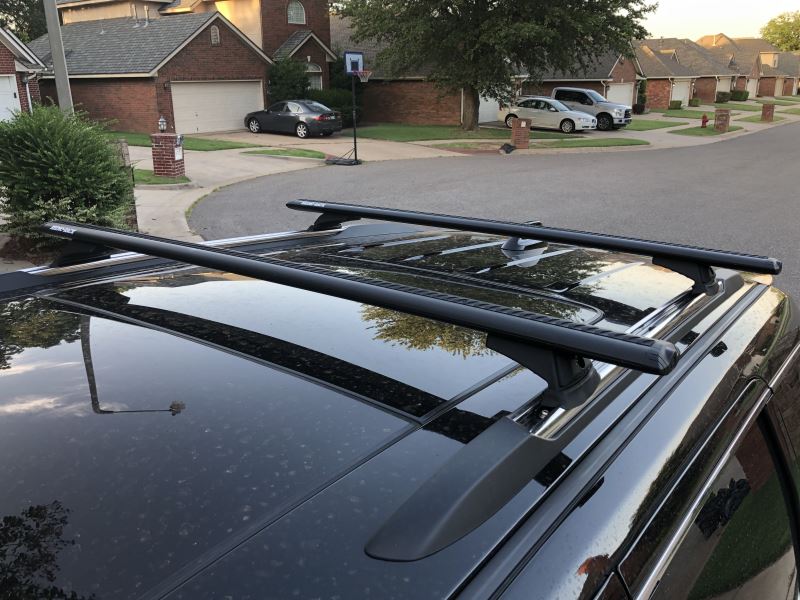























Mark
8/20/2020
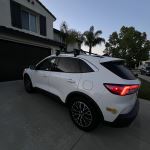
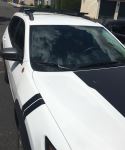
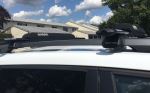
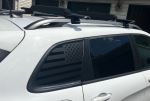
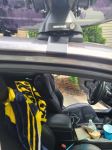
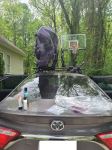
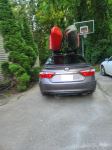
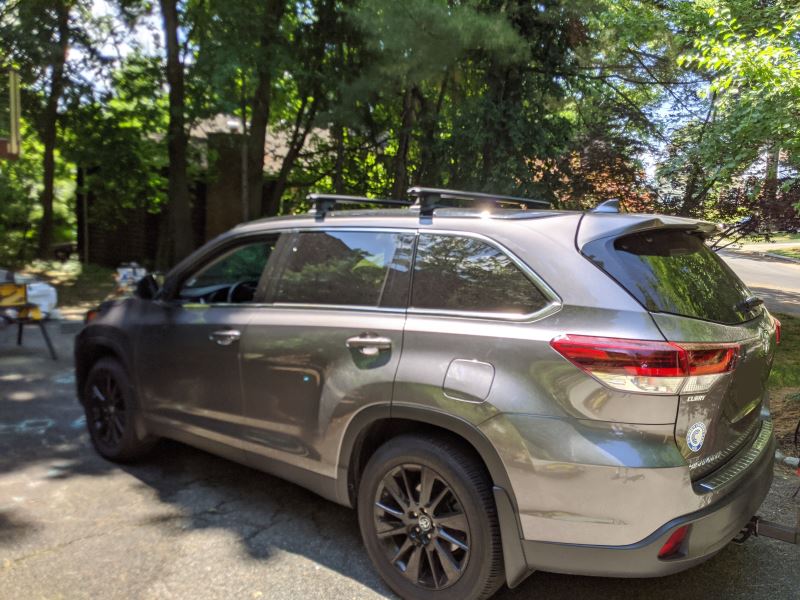
Still rock solid after a year. Very happy with the Rack. My daughter has used it from time to time over the past year when something wont fit in her car, and shes had no problems with it at all.